- Open the Outlook program.
- Click the File tab in the upper left-hand corner.

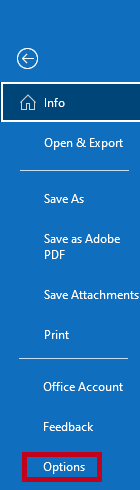
- Click on Options on the left-hand side (this may appear in the bottom left).
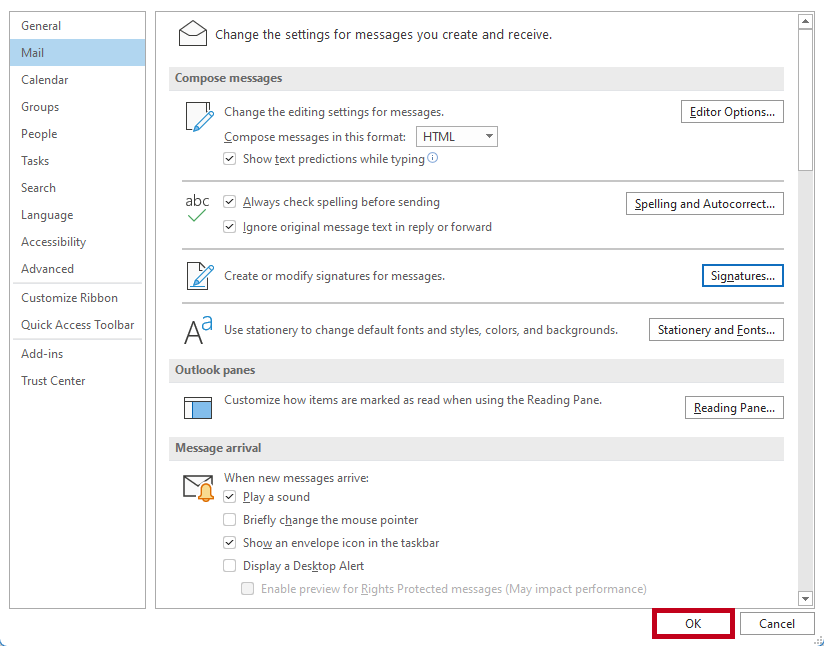
- Click on Mail and then Signatures…

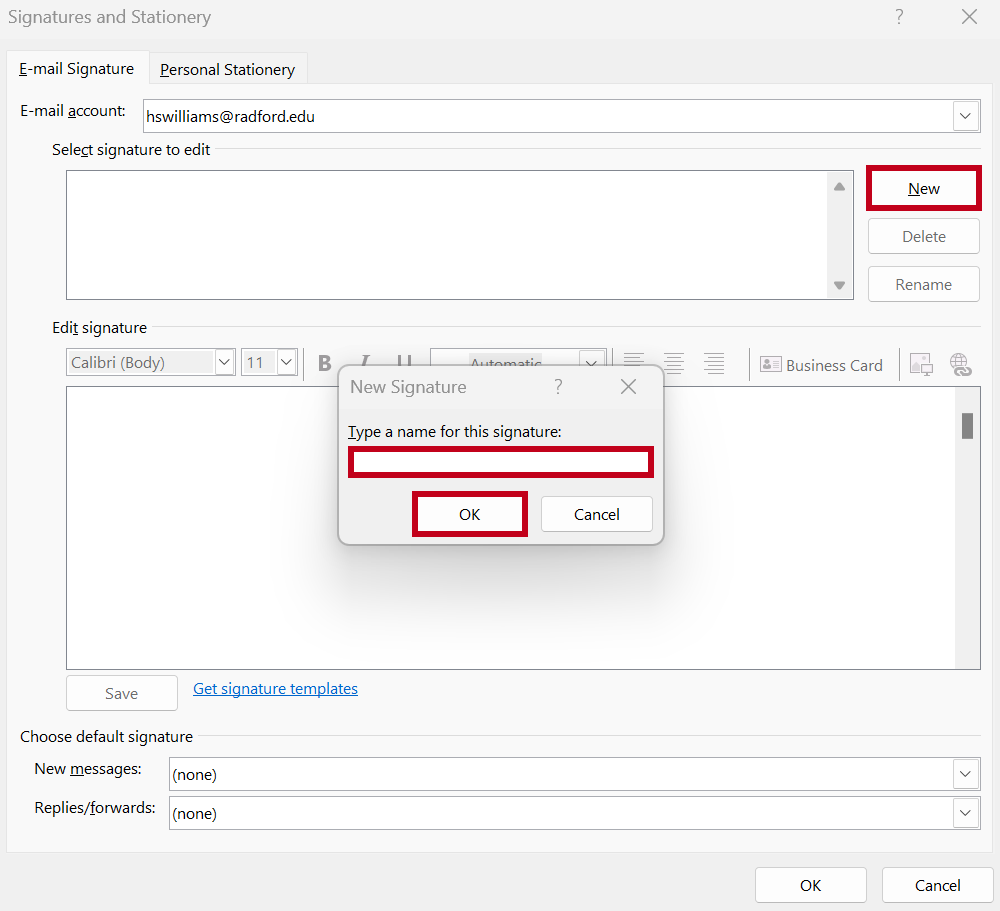
- Click New and enter a name for your signature. The name you enter for your signature is for your eyes only and can be helpful if you plan on having more than one signature. Click OK once you have typed a name.
- Create your signature in the large text field. You can insert images but try to keep them small since this will be sent with each email you author. You can also insert hyperlinks, change the font, font size, style, etc. You can reuse an older signature by copying and pasting it in this box.
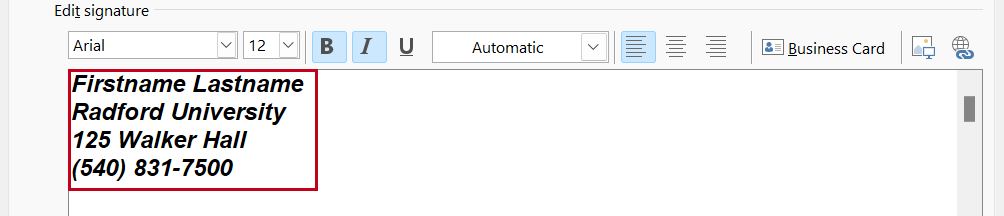
NOTE: You will need to exit this menu to go back to your Sent items to find an older signature.
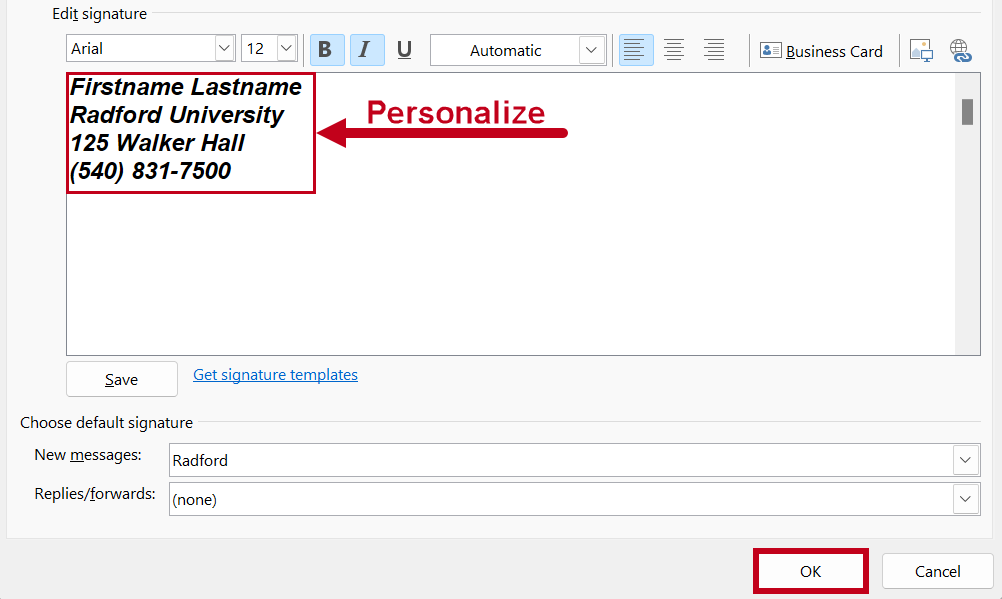
- Select when you would like your signature to appear in the Choose default signature section near the bottom. You can use your signature for New messages as well as Replies/forwards.

- When you have completed creating, saving and applying your signature, click OK.
- Click OK to close the Outlook Options window.
NOTE: If you manage more than one email in Outlook, you can create a signature for the alternate email as well.
|